Dreamweaver中CSS怎么制作径向圆形渐变?Dreamweaver中可以利用DIV+CSS制作圆形渐变效果,今天我们就来介绍五种简单的制作方法,需要的朋友可以参考下
Dreamweaver设计网页很简单,今天我们就来看看利用CSS来绘制圆形径向渐变的方法,可以通过【 radial-gradient】来实现,下面分享五种方法,请看下文详细介绍。
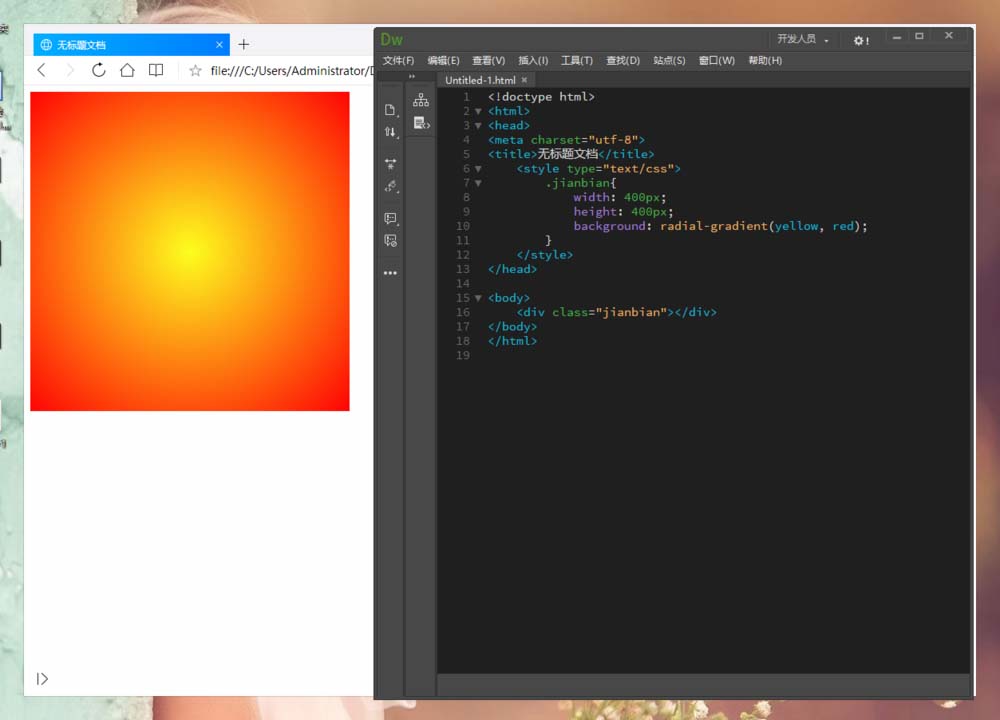
第一种:基础简单渐变
1、我们先建立个网页,并写入<div></div>标签,并引入CSS样式。

2、定义IDV的宽和高,然后利用背景渐变来实现渐变【width: 400px; height: 400px;background: radial-gradient(yellow, red);】。
第二种:简单的圆形渐变
通过如下代码也可以实现,几乎和第一种一样。
【width: 400px; height: 400px;background: radial-gradient(circle, yellow, red);】

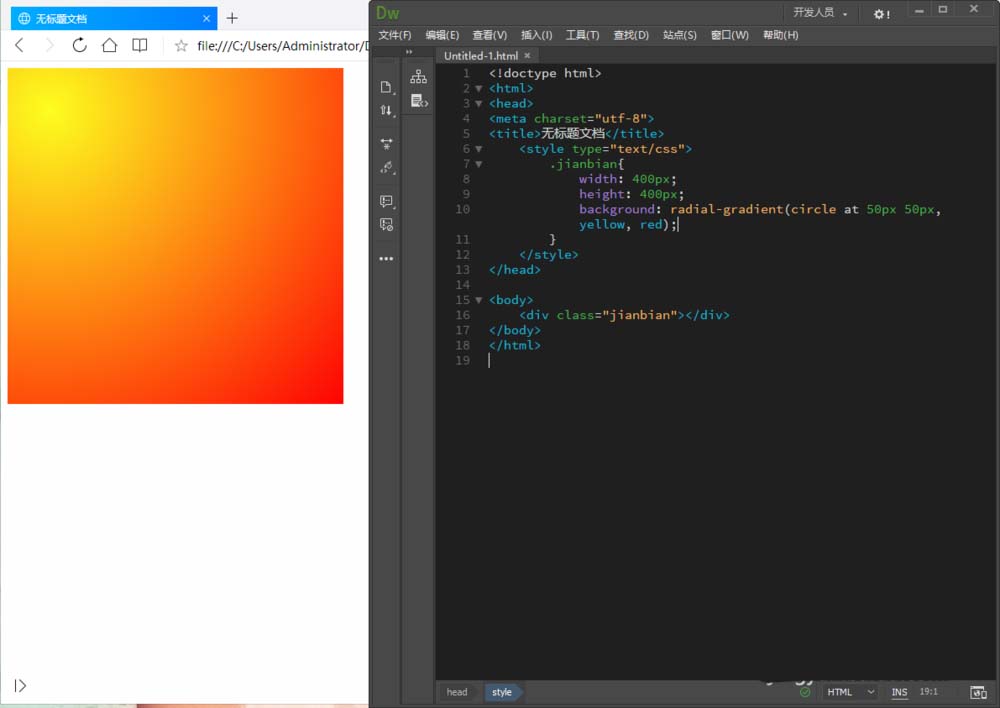
第三种:指定圆形渐变的起始位置
1、可以通过如下代码实现。
【 width: 400px; height: 400px;background: radial-gradient(circle at 50px 50px, yellow, red);】
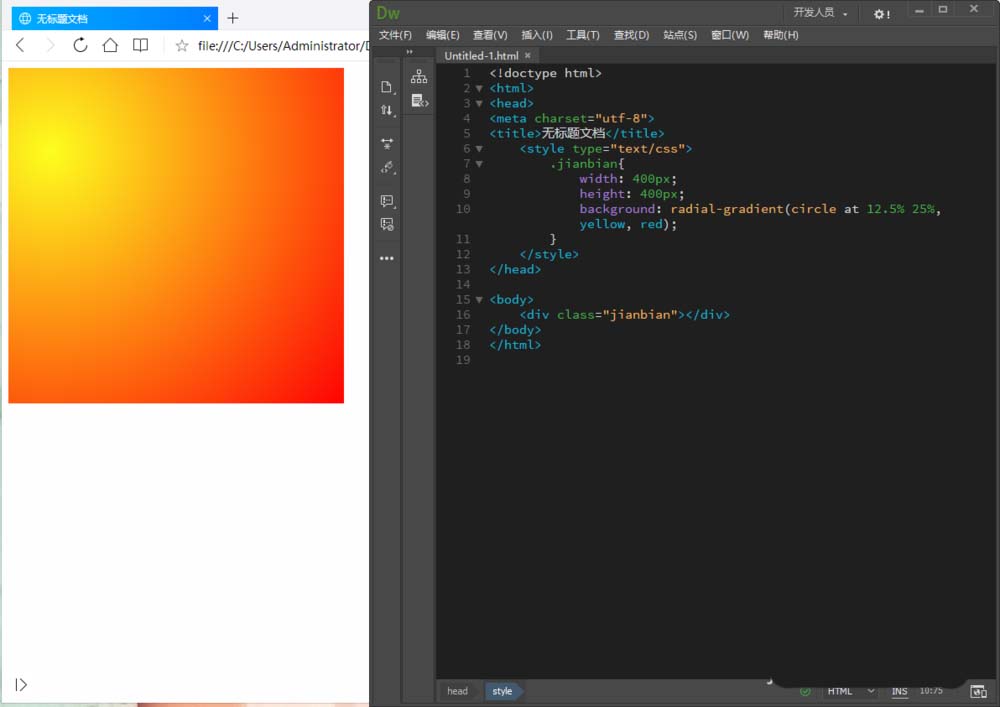
2、指定起始位置也可以使用百分比来实现起始位置。
【width: 400px; height: 400px; background: radial-gradient(circle at 12.5% 25%, yellow, red);】
第四种:指定终止点位置
【width: 400px; height: 400px; background: radial-gradient(closest-side circle at 50px 50px, yellow, red);】

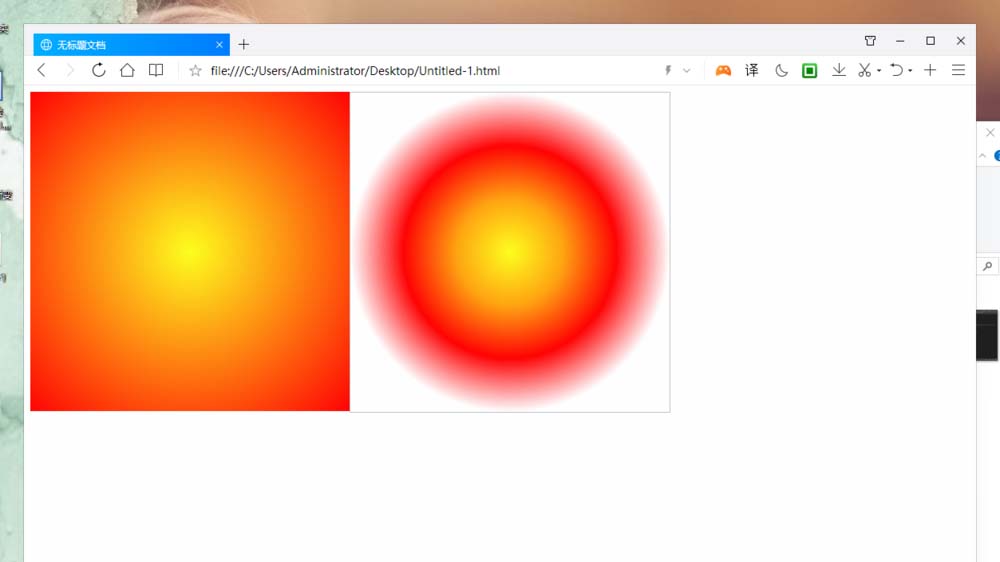
第五种:指定渐变颜色断点
1、为了方便经验的朋友们观察,加了个边框可以看出效果。
【width: 400px; height: 400px; border: 1px solid silver; background: radial-gradient(closest-side circle, yellow, orange, red, white);】