给图片添加内边框
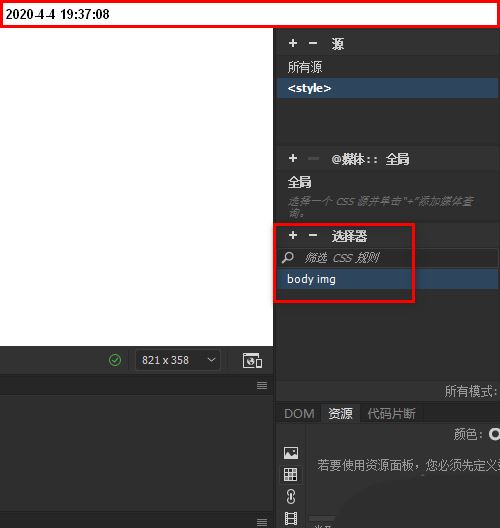
如下所示,在设计器中选择body img
再用鼠标点击一下图片,选中图片。
然后,在右侧这里点击背景按钮,在这里设置一个背景颜色,此颜色是边框颜色。
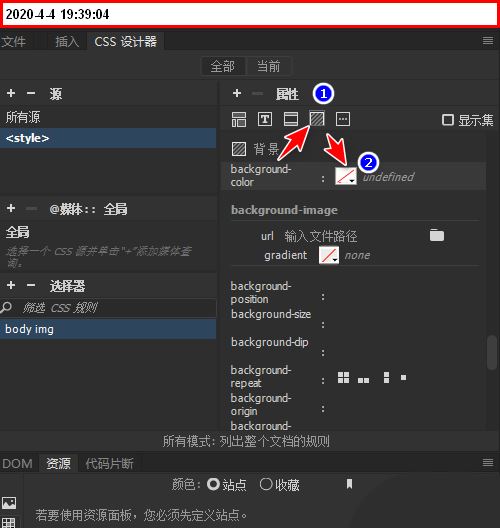
接着,鼠标点住右侧的滑块,向上拉,拉到padding这里,在这里设置内边框的粗细。
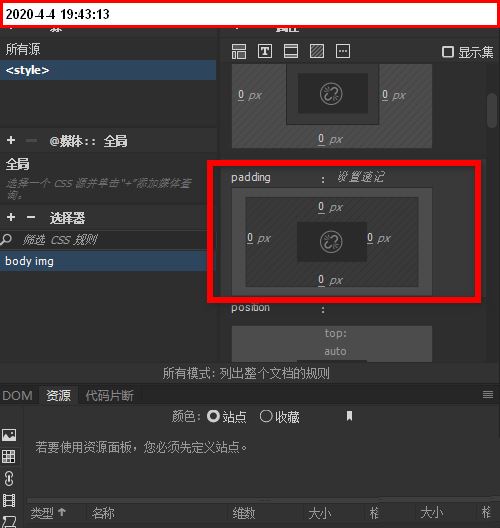
在框内的中心位置,点击一下,加上链接。如下图所示。
再上下左右的任意一处设置一个数值,那么其他方向的都会自动添加同一数值

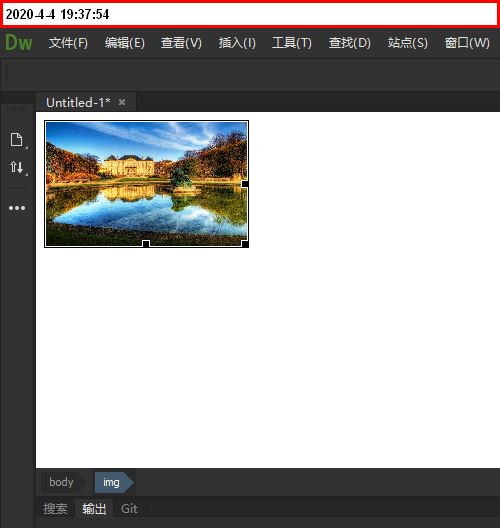
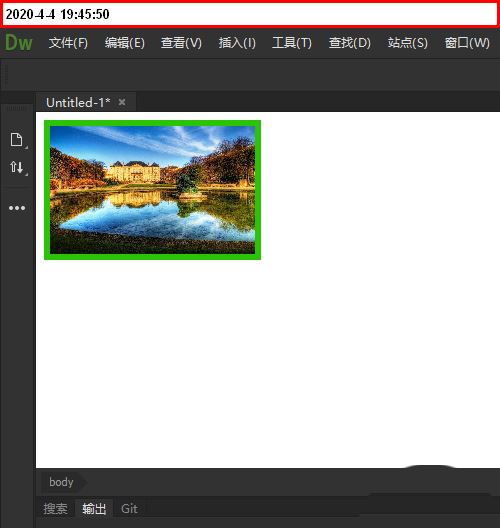
看图片!
已给图片添加内边框了。边框颜色即时刚才所设置的背景颜色。
给图片添加外边框
接下来,演示下添加外边框的操作方法。同样用上面这张图片为例演示
如下所示,点击边框按钮,再点击所有边按钮。
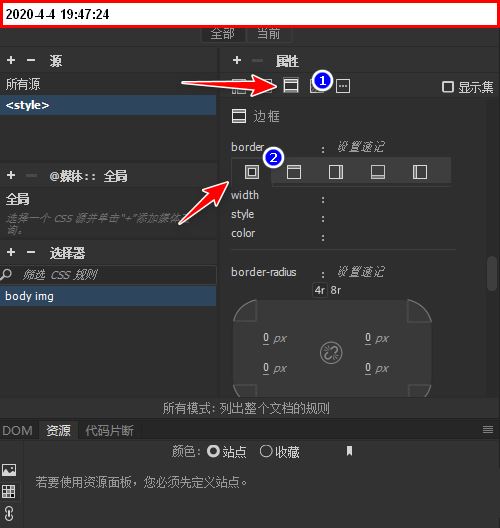
然后在width这里设置边框粗细
在stlye这里设置边框的样式
在color这里设置边框的颜色
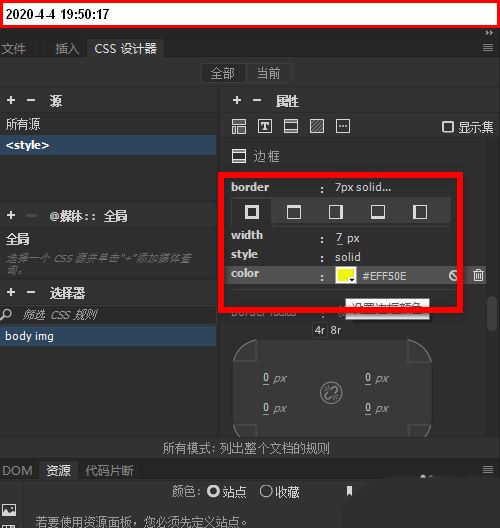
三者设置后,再看图片,即添加上了自己想的边框了。这是添加外边框的方法

给图片添加双色边框
上面所讲的边框都是单色的。下面,我给大家分享添加双色边框的方法。
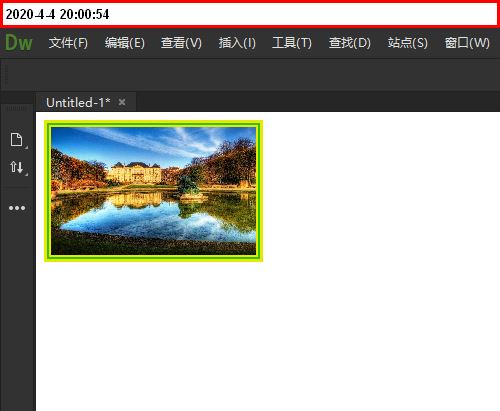
同样使用上面添加内边框时所设置的背景色,在这里是设置绿色背景。
然后,同样使用上面添加外边框的所设置的边框颜色,为黄色。
现在要添加双色边框的话,要点在于,在stlye这里设置边框样式时,要设置为double

边框样式设置为double之后,再看图片时,就可以看到添加了双色边框了。背景色加边框色的双色边框。